Home | Mailing List | Specifications | Care and Feeding | Modifications | Vendors | Literature
New 01/22/2005
Exact procedure is as follows.
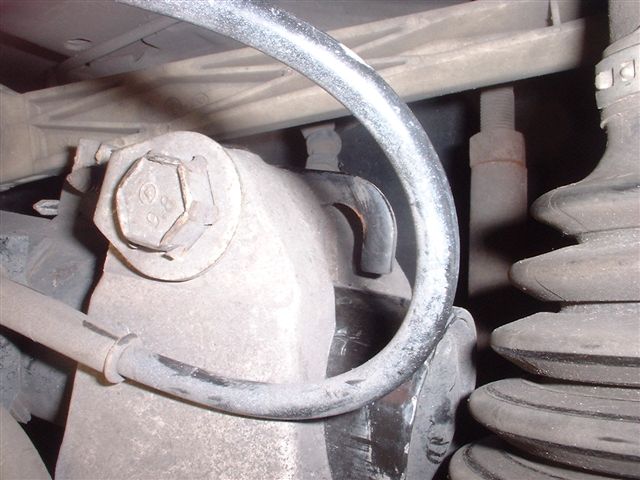
Remove the wheel. Measure 5/8ths (on the
front, 3/4 rear) up from the top of the clamp and mark the strut. Use a
sharp blade for this and scratch the paint on the strut so that you have an
accurate and easy to see mark. Unbolt it using a #18 socket. Place a jack
under the control arm and raise the arm up to the mark. You may have to tap
on the arm with a hammer to create some vibration so that the strut will
travel thru. Now lower the assembly as one until there is no resistance
from the strut. If the strut still has some spring in it, it may move to an
undesired position while drilling due to the vibration. With every thing in
place and no pressure from the strut and only enough on the jack to hold
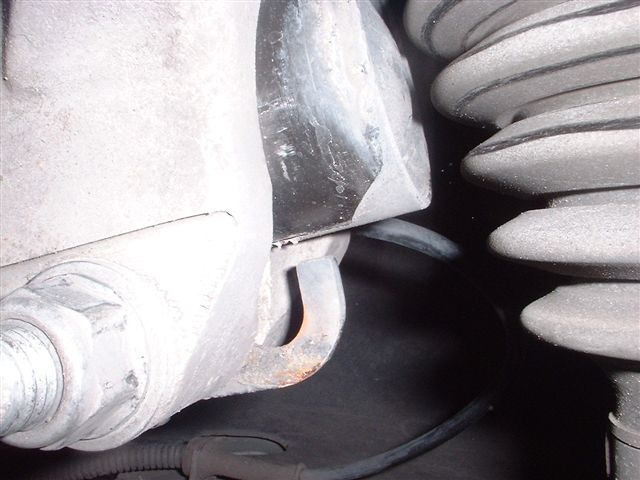
the assembly in place begin drilling thru the tab using a 7/16ths drill bit.
Stop once you have made a reasonably deep indention in the strut tab and
make sure your arm is still on the mark you placed on the strut. Now lower
the arm back down again tapping if necessary and finish drilling the hole.
(I don't recommend marking the tab where you want to drill it and lowering the
arm as your drill may walk resulting in an offset hole. Also you don't want
to drill all the way trough with the arm in place as you may damage the
threads on the other side of the arm.) Now jack the arm back up to the mark
and blow out the hole and reinstall the bolt and tighten. On the front axles
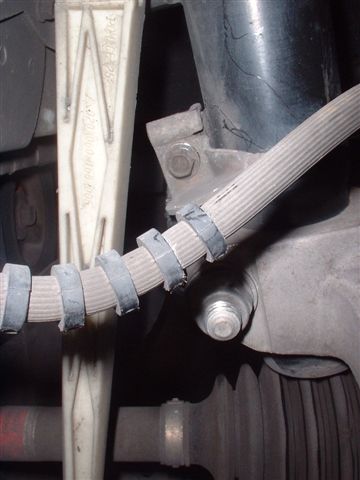
you will have to relocate the bracket holding a brake line. Simply slide it up
to the top of the tab and drill a 17/64 hole in the tab. This size hole will
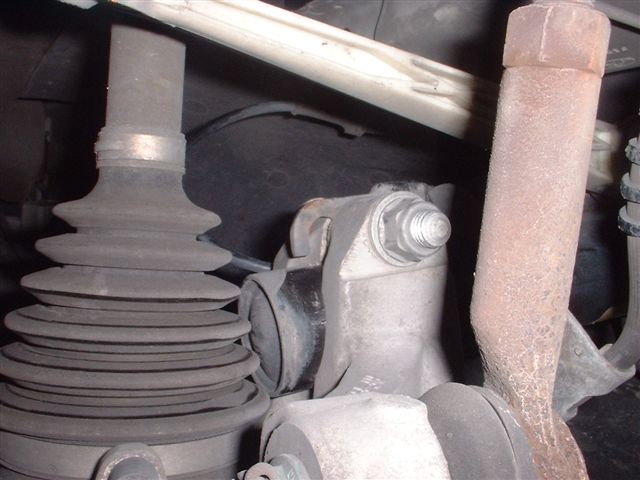
allow the stock screw to tap it's self in. Reinstall the wheel and check for
any clearance issues (cv boot, spring seat). I recommend an 1/8th minimum
for either of these. If there is a clearance issue you will need to slot the
hole you drilled accordingly. Please note that the measurements listed above
are maximum.
Anymore and you will have clearance problems. Have Fun!
Jason Barker