Home | Mailing List | Specifications | Care and Feeding | Modifications | Vendors | Literature
06/15/2004
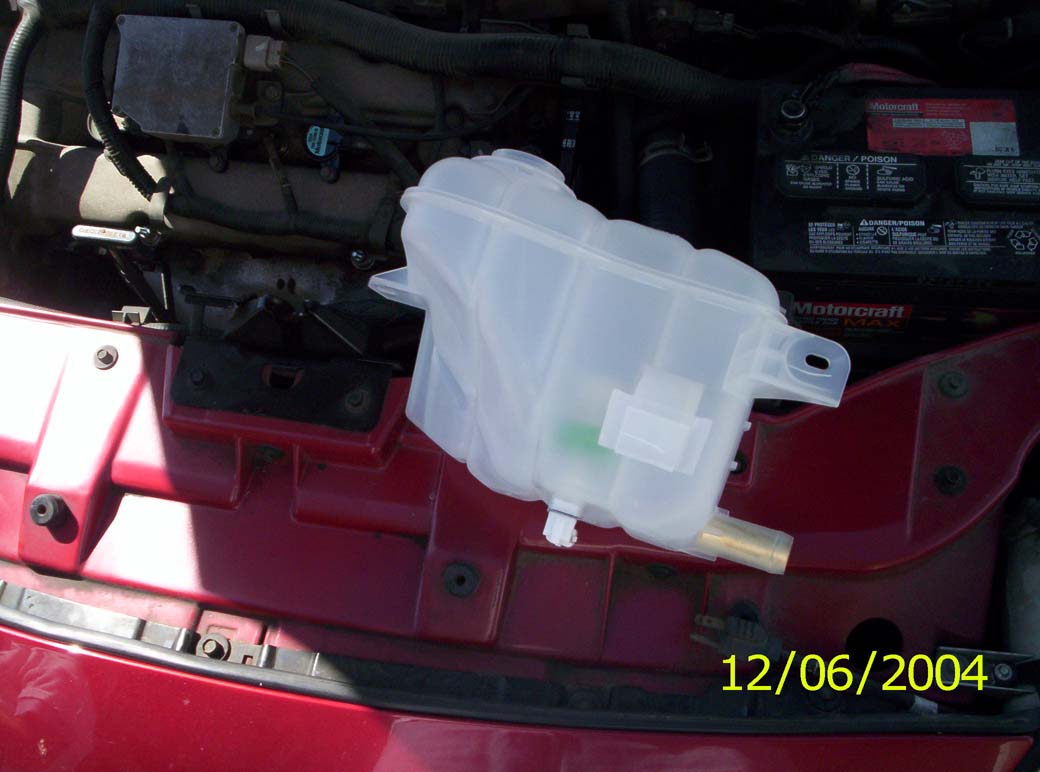
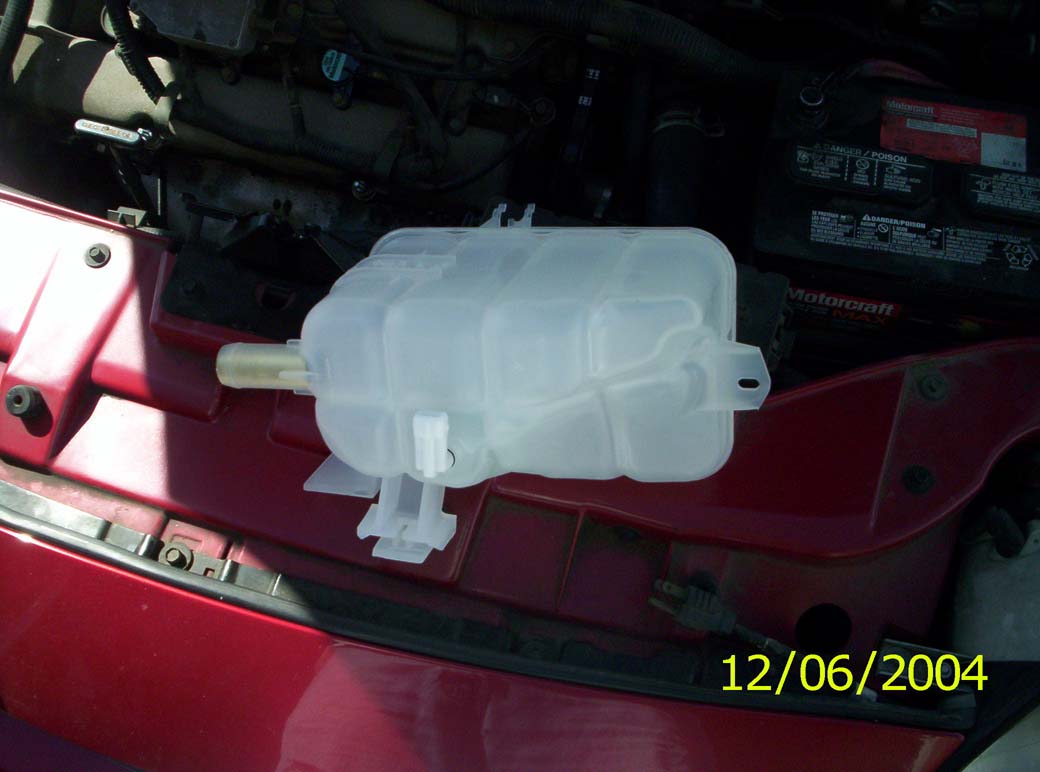
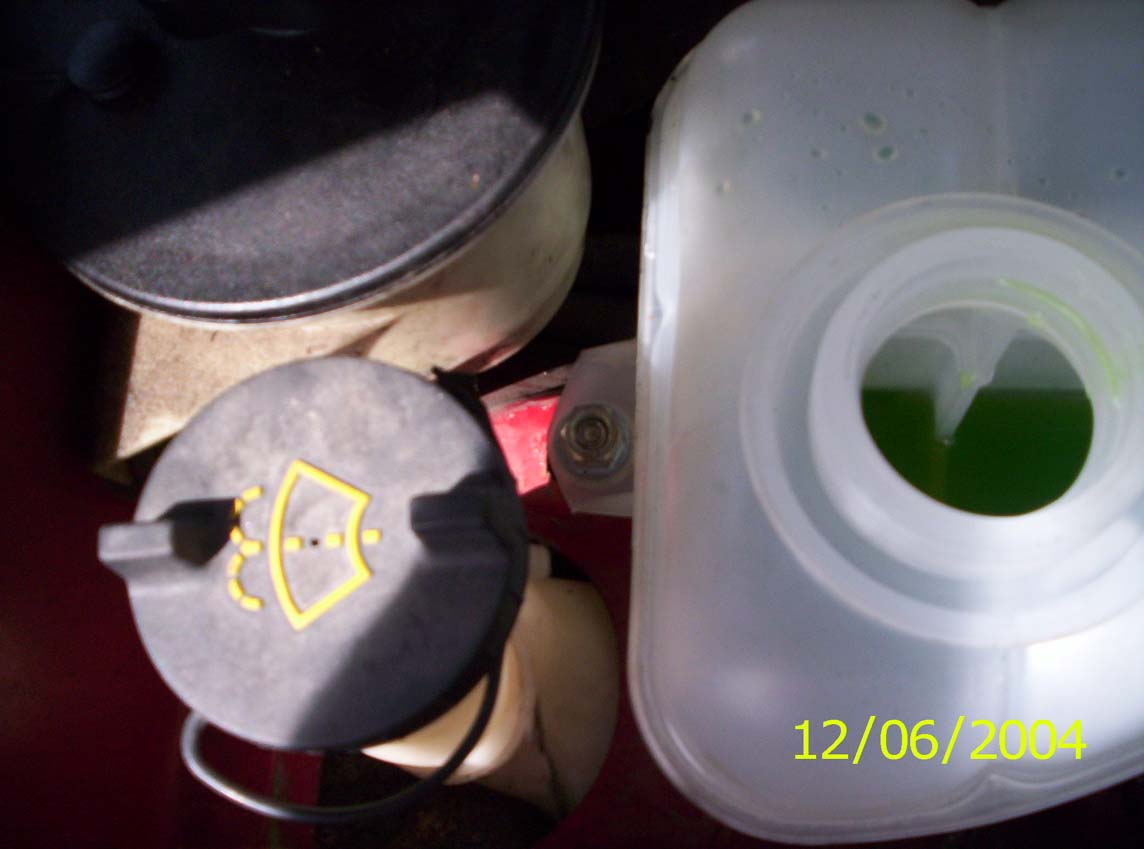
I recently had to Change out a Degassing Tank/ Coolant Containment Bottle on
my 1996 V8.
Tools Needed
10mm socket, 11mm socket, extension, ratchet. {1/2 or 1/4 drive} I used 1/4
drive
Catch tray for coolant.
Slip Joint {channel Lock} Pliers, {I have 3 sizes the medium works best}
Step one
Place Coolant catch tray under RF headlight right against tire. {I had hardly
any left in bottle so not a big spill will happen}
Remove Radiator Cap
Remove The 2 small radiator hoses by squeezing the spring clamps with the Slip
joint pliers.
Using the 10mm Socket, and ratchet remove the front anchor bolt {near RF
headlight on the fender}
Using the 11mm Socket. {on mine.. Who the F*** uses a 11mm nut}, remove the net
off the rear anchor stud. It is right in front of the Strut Tower at the back of
the Degassing Tank.
Slide the bottle up as there is a Large Tab at the front that fits in a slot in
the fender.
Now tilt the front down so any remaining coolant will run out the lower hose
opening.
Remove lower hose by squeezing the Spring Clamp and gentle twisting bottle as
you pull up and towards rear of car.
Undo the electrical connector for the Low Coolant Sensor.
Install in reverse Order.
Fill bottle with coolant to Full Cold, drive car and check level.
Top up if needed and check in a few days.
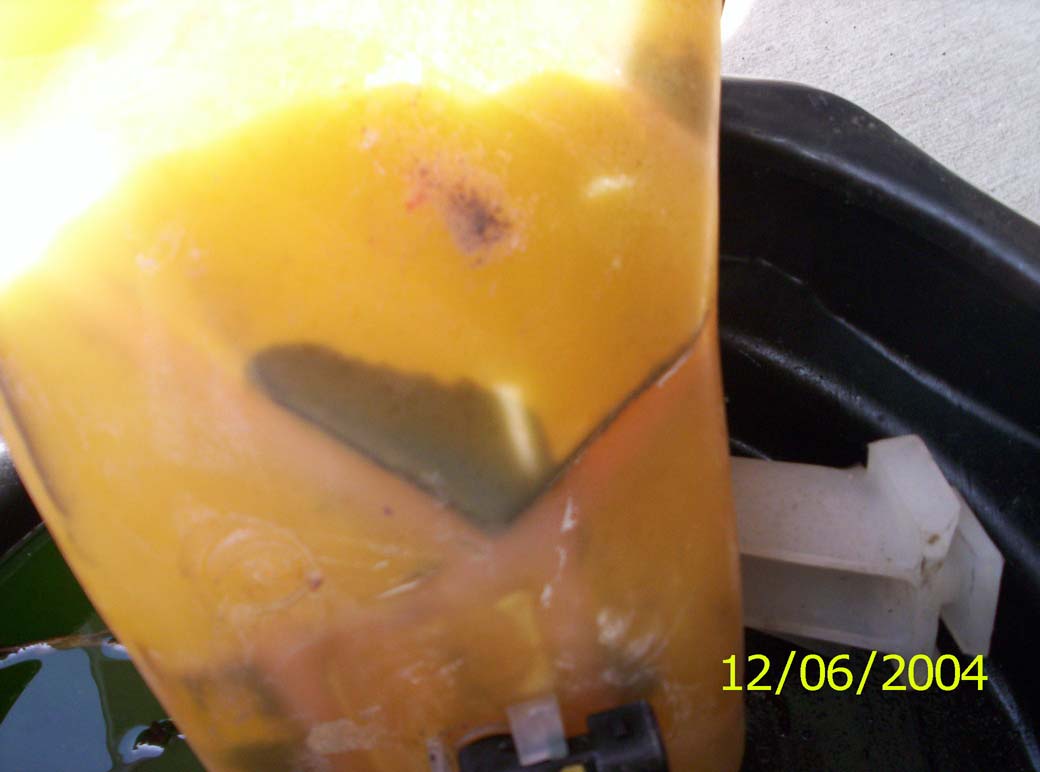
IF you look at the picture of the bottom of the old bottle the crack is the
black line and follows 100% the outline of an internal baffle in the front part
of the bottle.
FWIW the original Bottle had 174000kms on it.
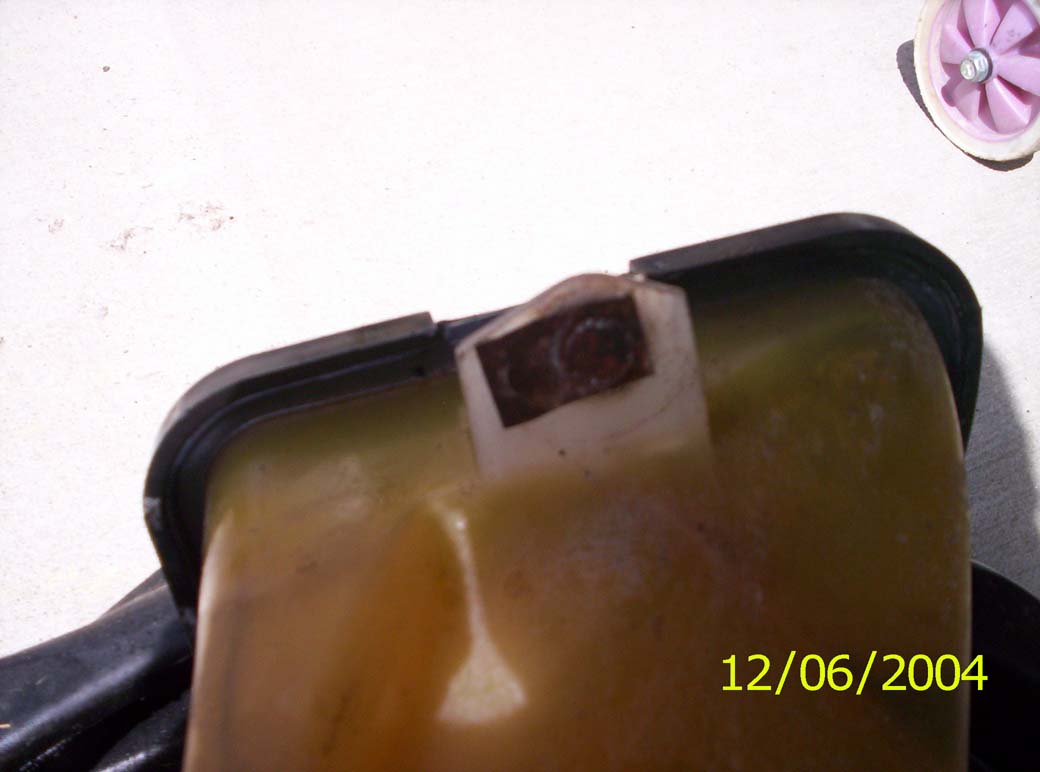
I had a small issue with the rear nut from when I changed my washerpump a year
ago. The small Clip broke and the bottle would not stay anchored fully at the
rear. I used a 3/8" by 1" bolt and inserted the head down through the hole.
I then took a 1/2" nut and slipped it over the bolt. Using the correct 3/8" nut
I tightened this up. Place a 3/8" flat washer
over the 2 nuts. I used a Rattail File to make the hole in the bottle just large
enough to slip over this larger bolt.
Place the Bottle tab over the bolt and another flat washer to spread the
clamping load over the Bottle tab and minimize breaking it.
Using a Socket {3/8" nut is 1/2" socket} tighten up the nut.
Clarence Allenby